HD Channel outdoor blinds
Heavy-duty outdoor blinds that run inside full aluminium side channels for a clean, built-in look. Made to measure in Perth, manual or motorised.
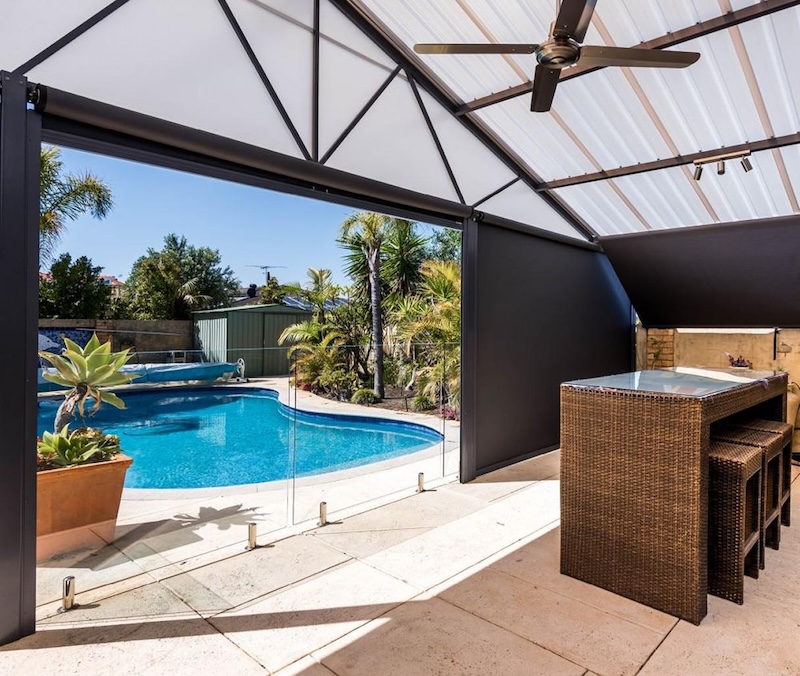

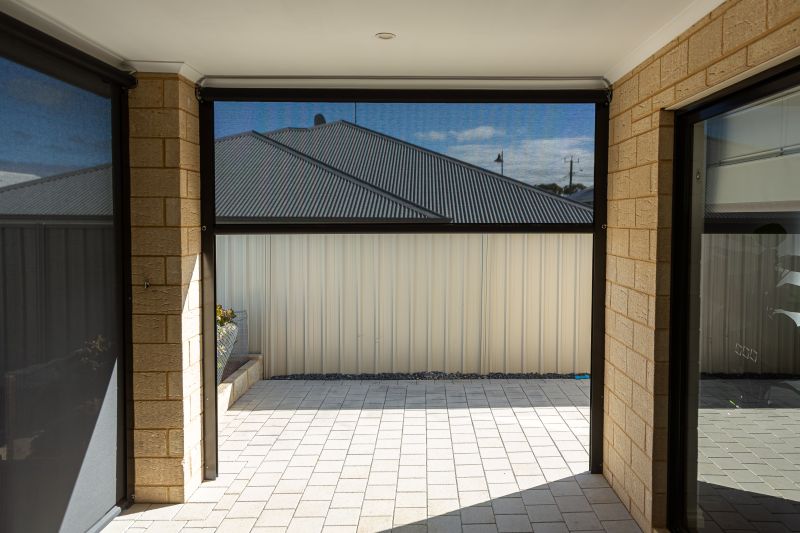
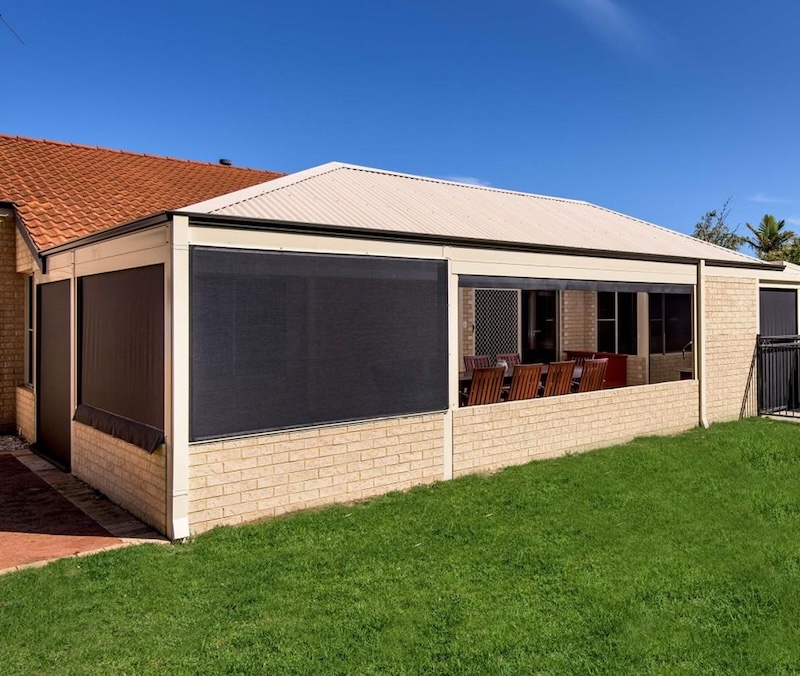
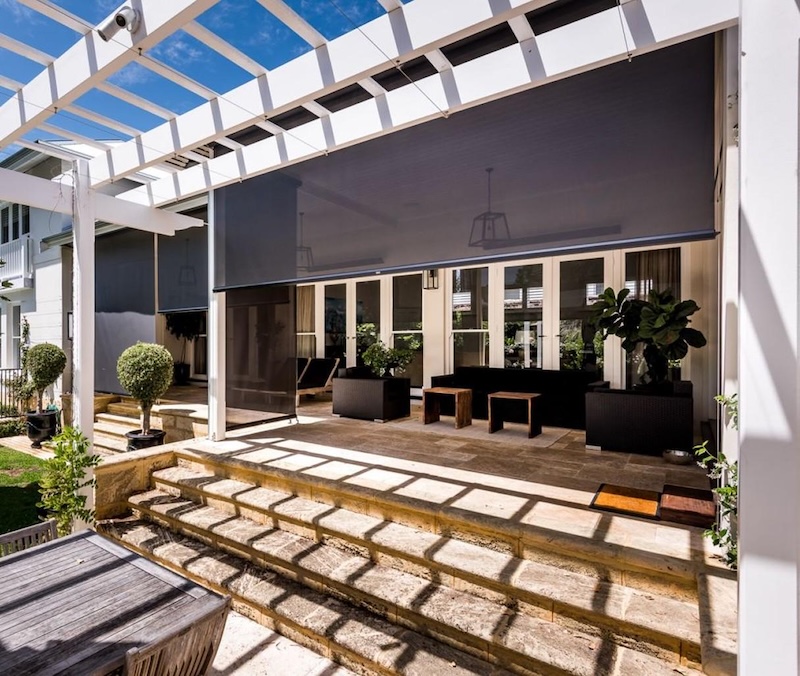
Our heavy-duty blind. The fabric runs inside full aluminium side channels that frame the opening top to bottom and guide the blind as it drops.
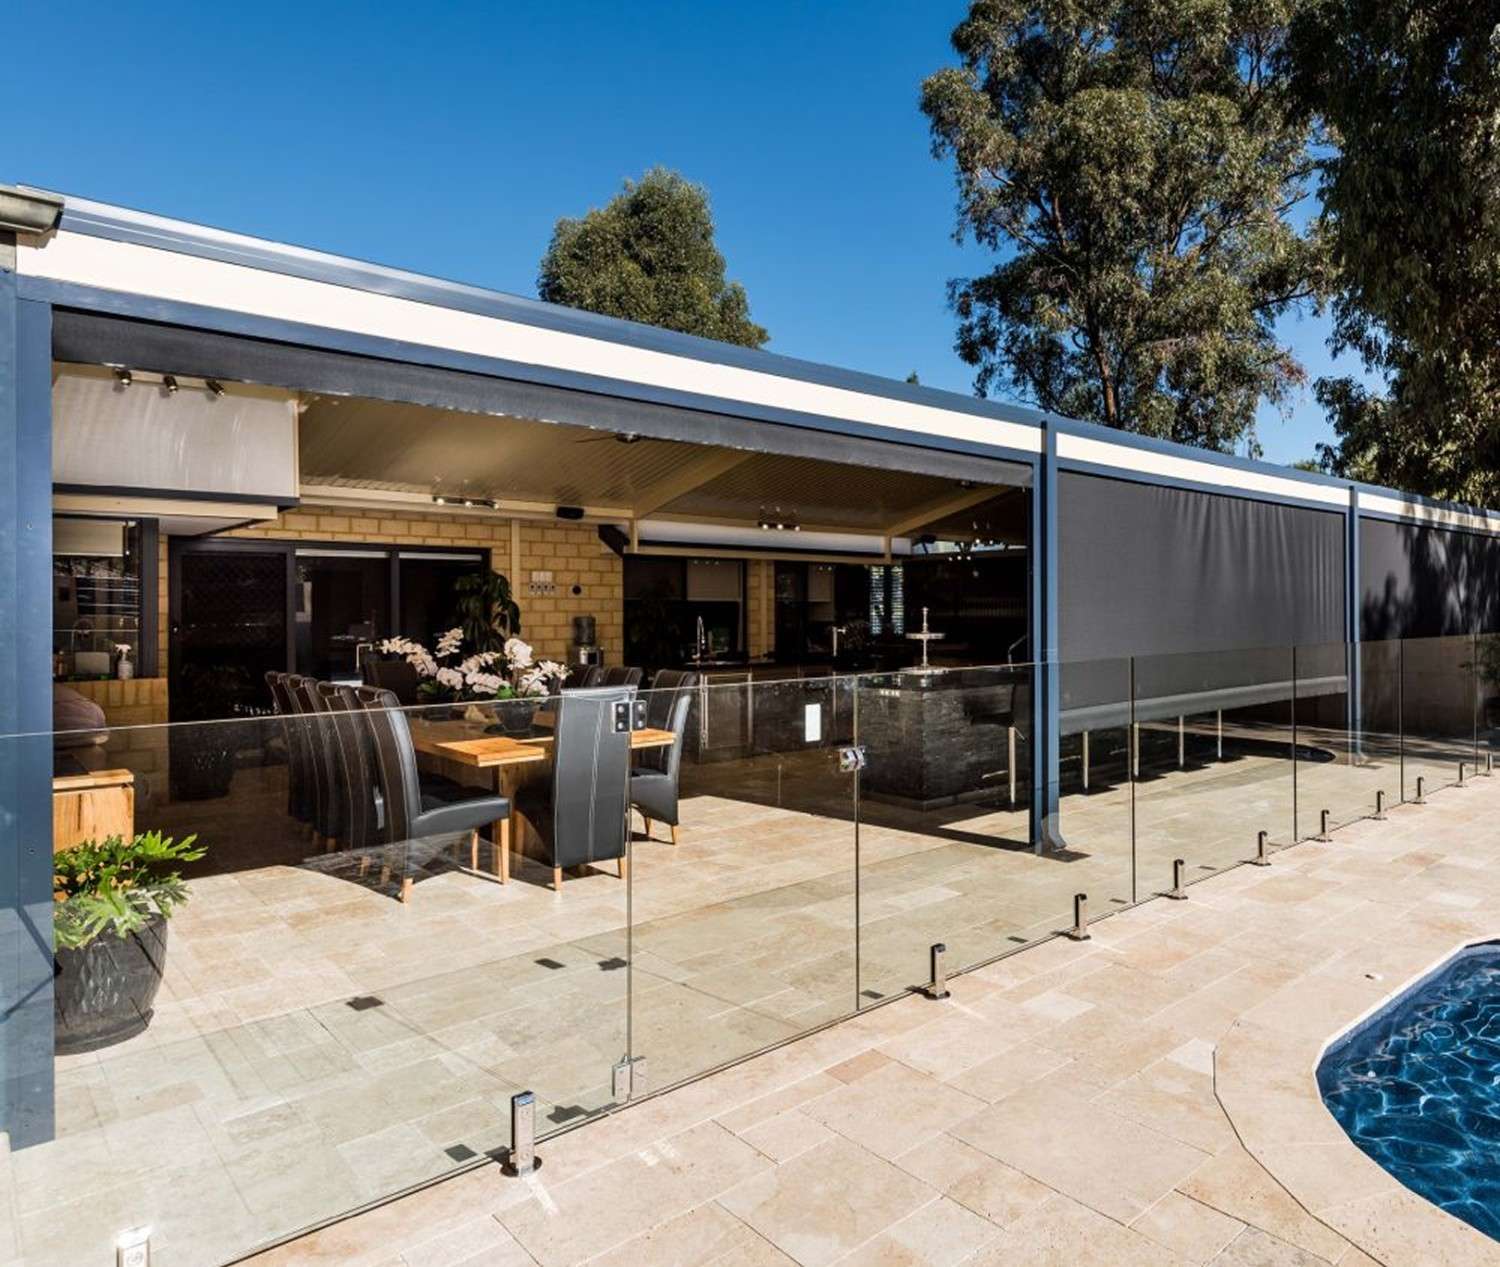
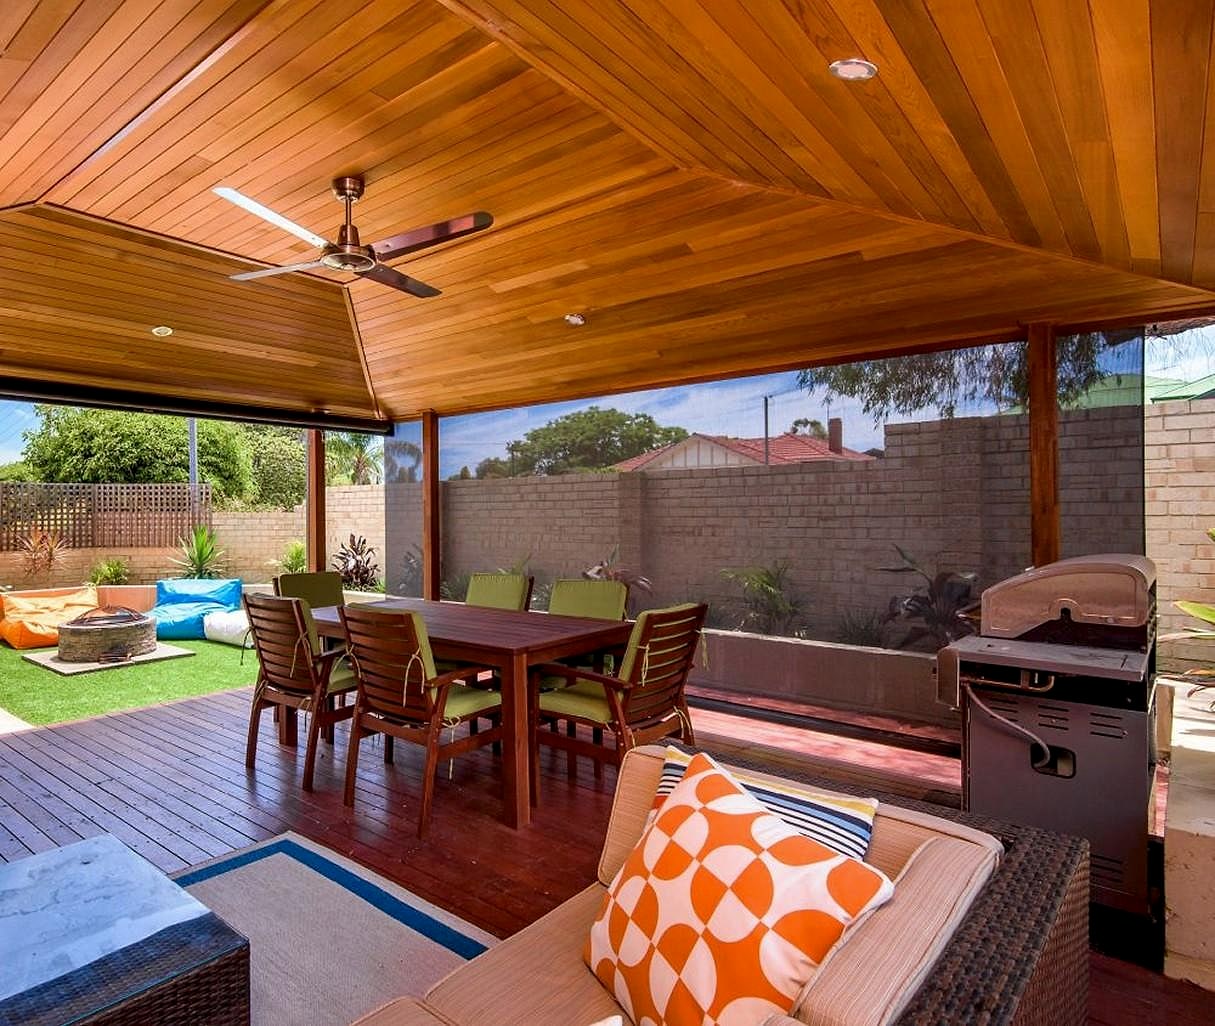
Best for: Turning a seasonal patio into a year-round space.
- Full aluminium side channels give a premium, built-in look
- Side channels can help against rain, wind and insects
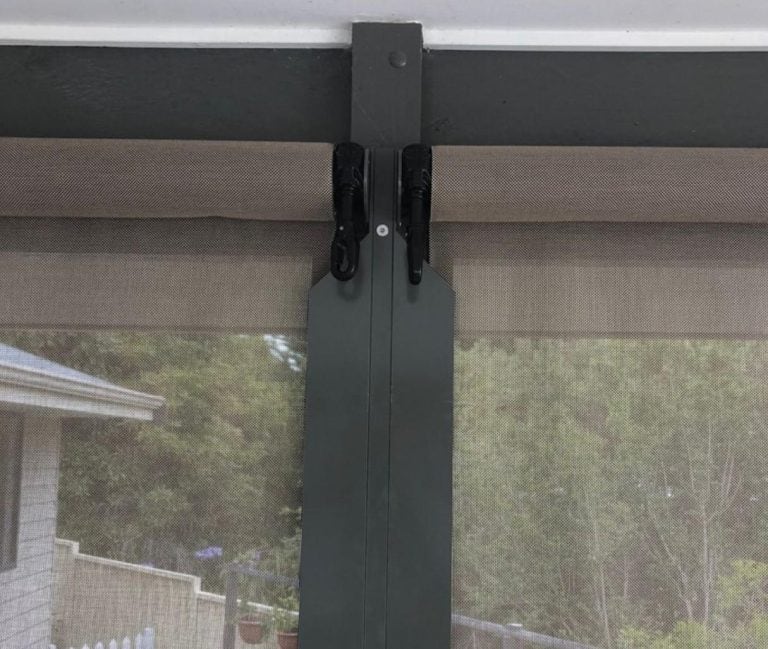
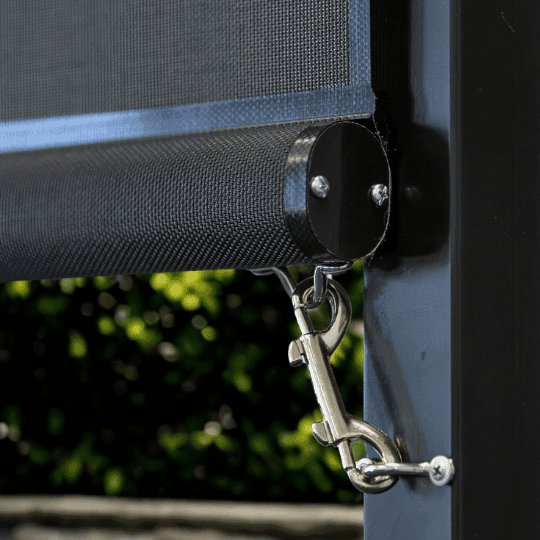
- Held down with stainless locking pins at any height
- Our most heavy-duty blind (needs a flat surface each side for the channels)
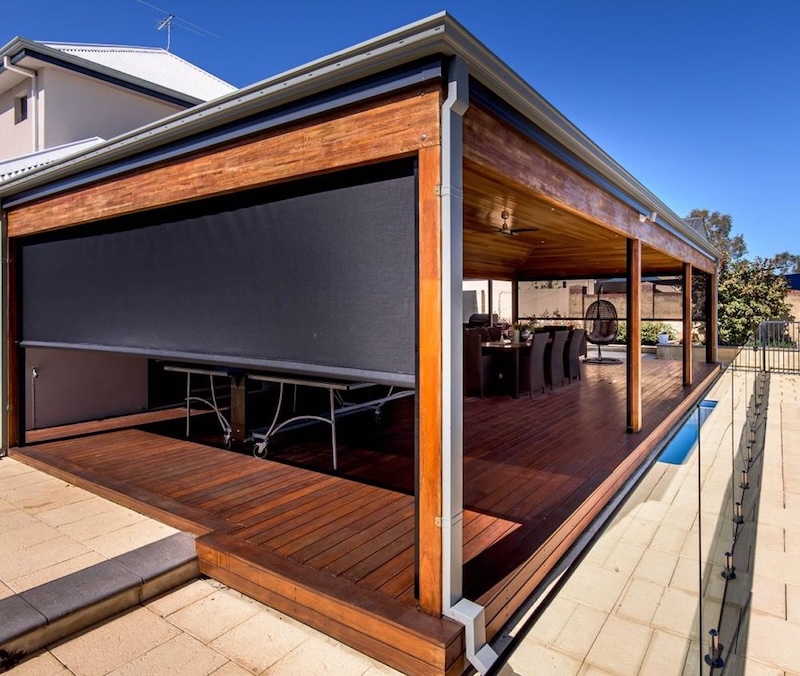
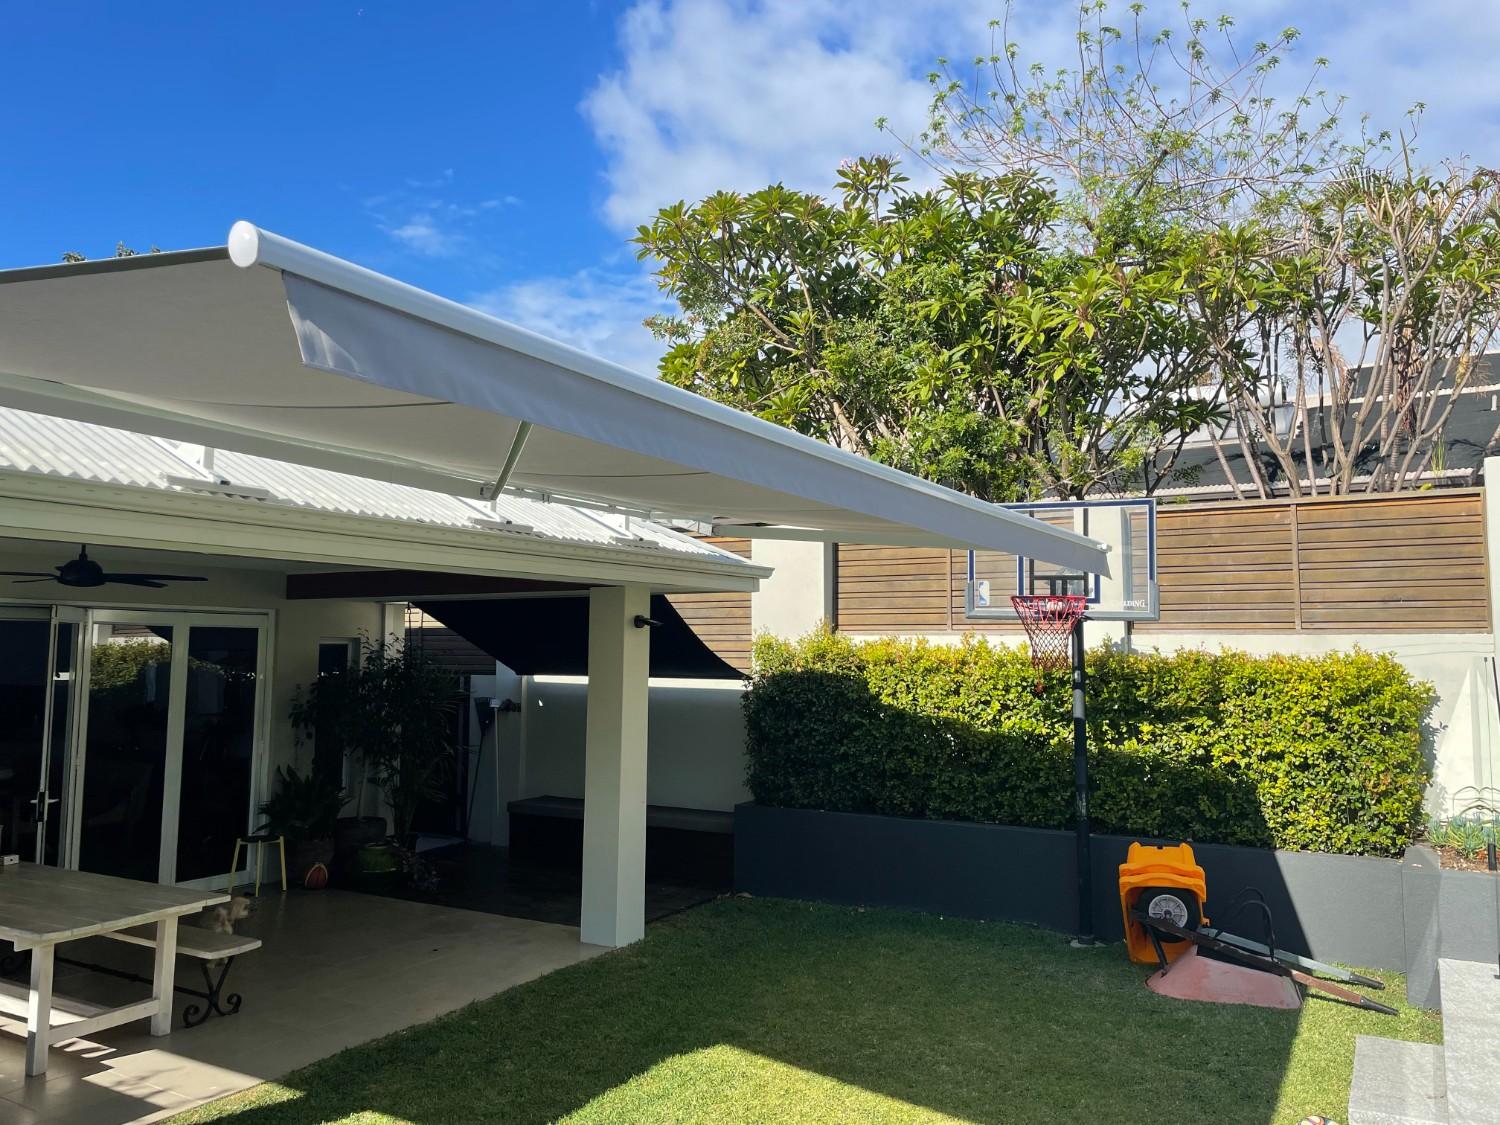
Real HD Channel installs
The detail
- Max size
- 5.8m W x 3.5m D
- Channels
- Powder-coated aluminium side channels
- Hold-down
- Stainless locking pins
- Mounting
- Wall, post or fascia, flat surface each side
- Operation
- Crank or motorised
- DIY install
- Most involved
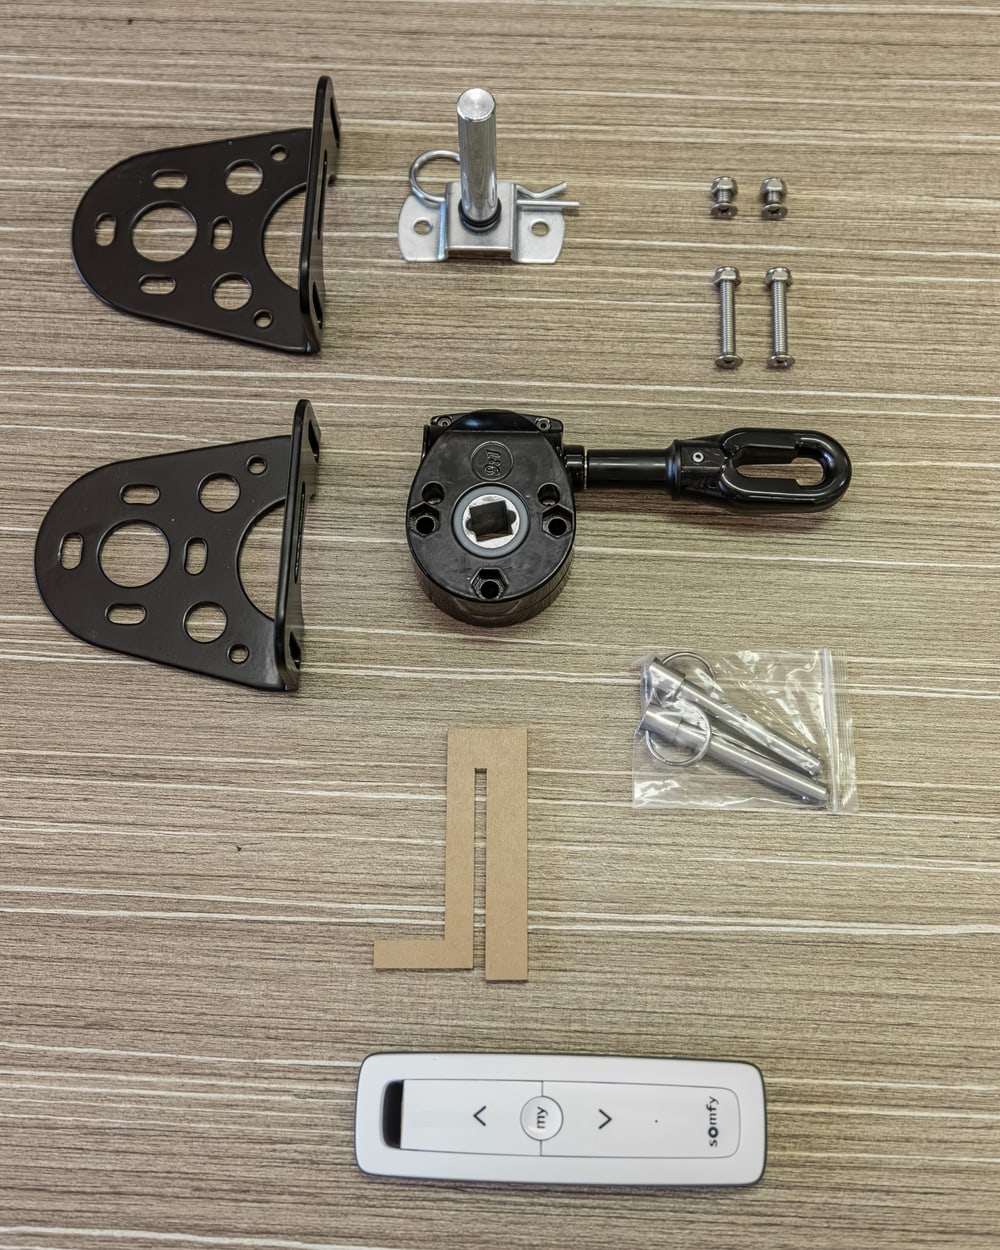
The parts that matter
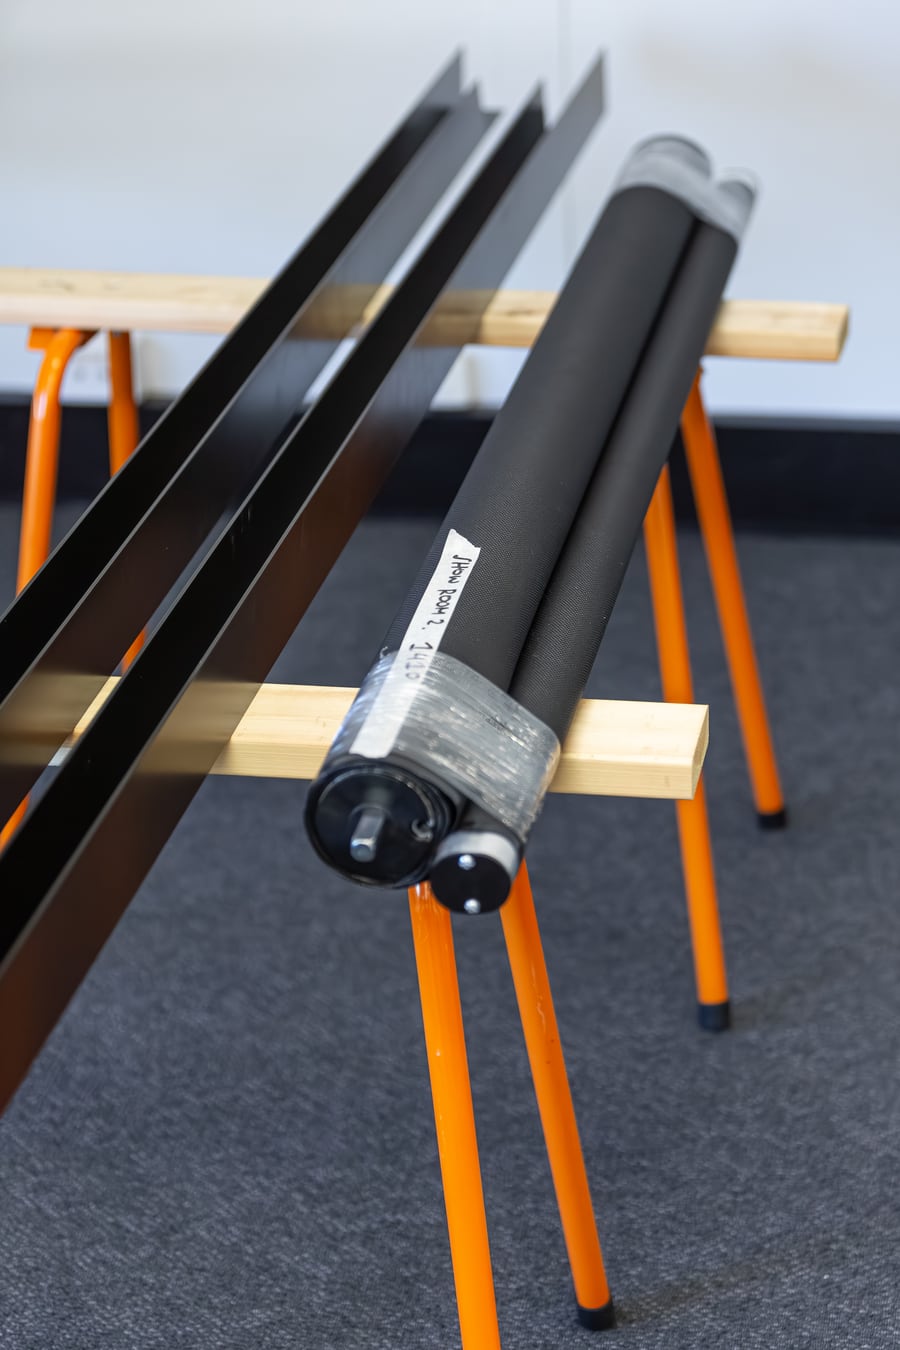
Channels
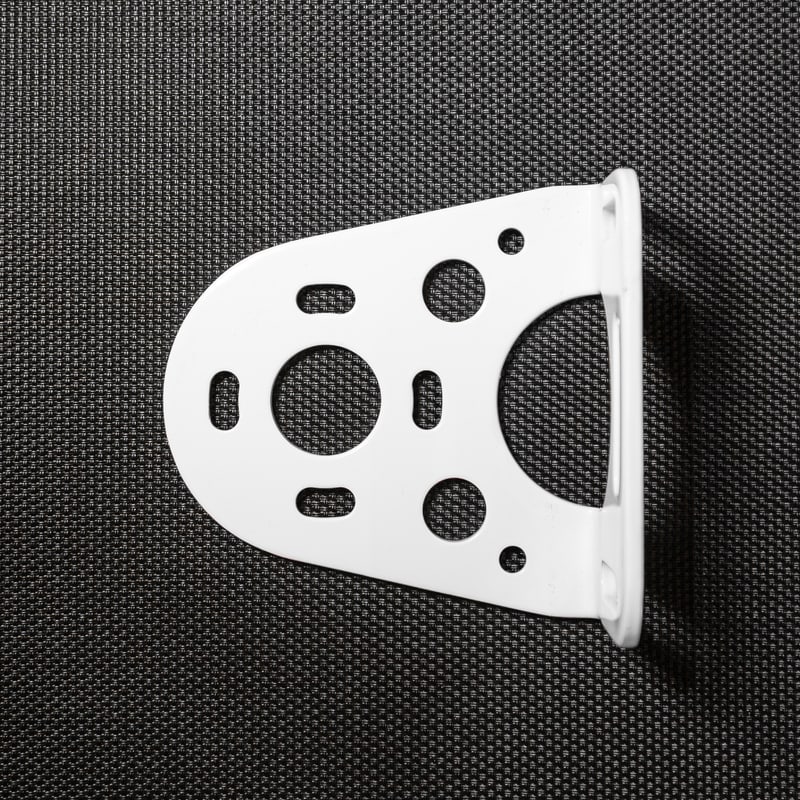
Brackets
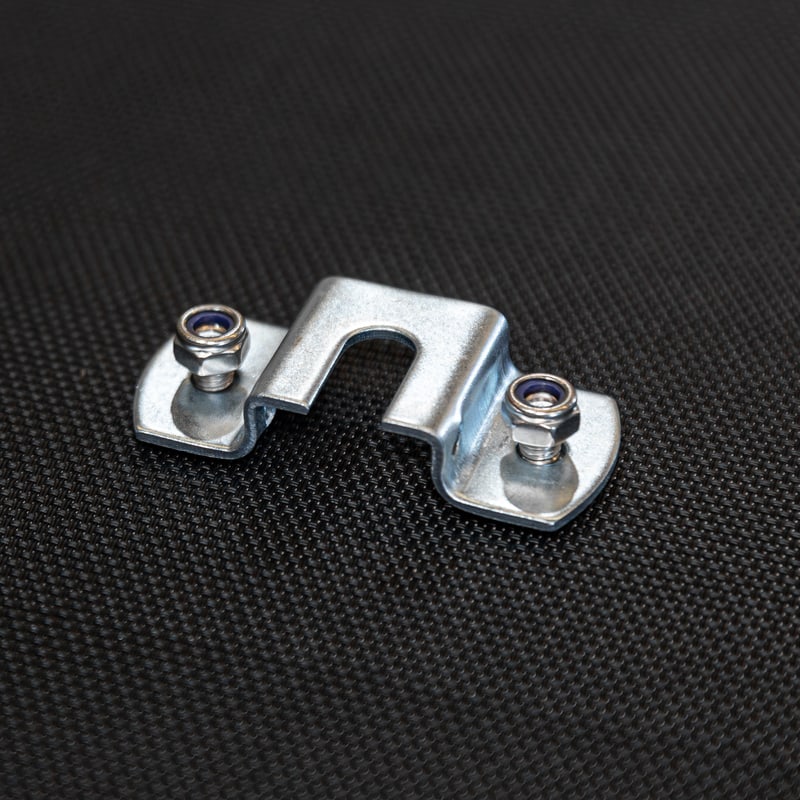
Pin & plate
Locking pins
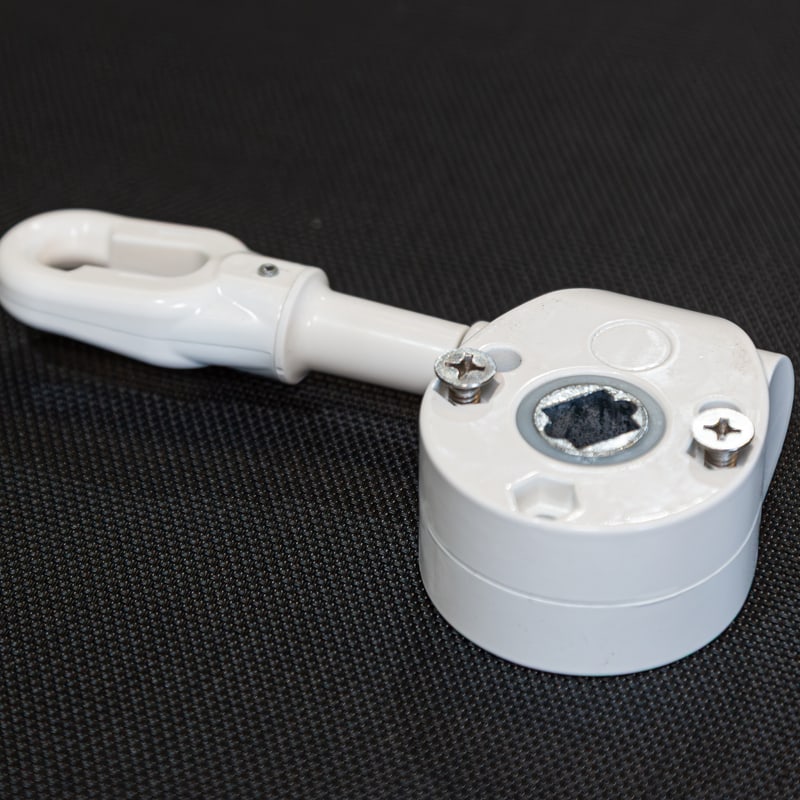
Gearbox
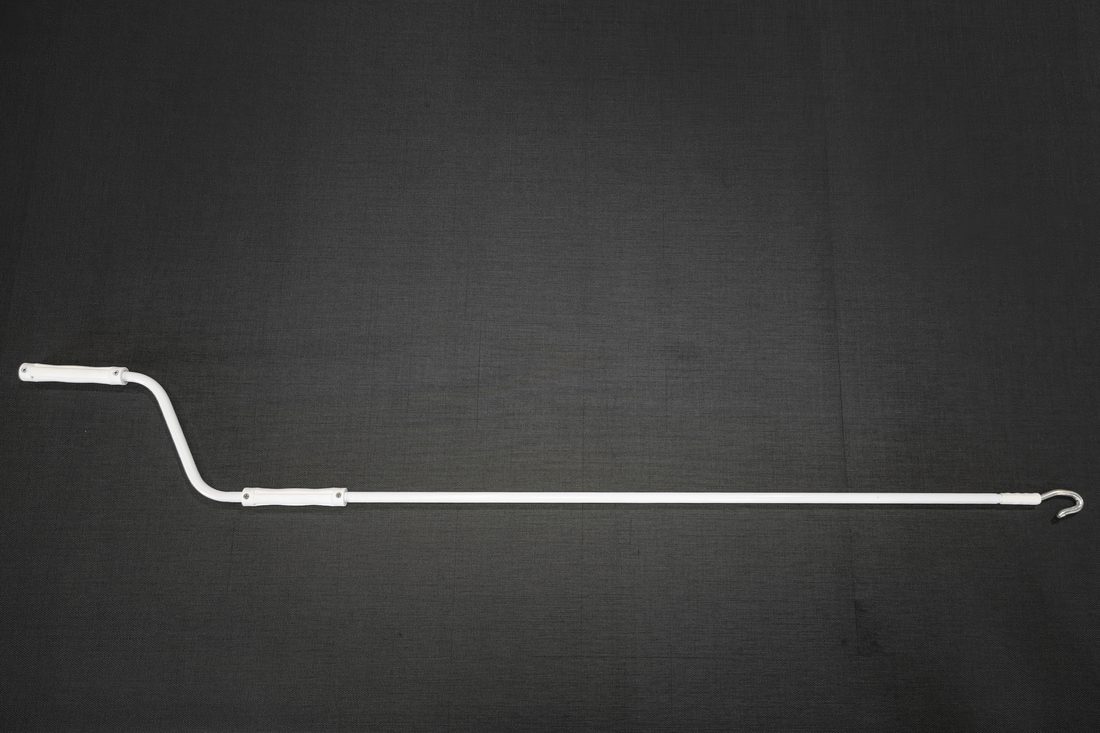
Crank handle
Hole setting gauge
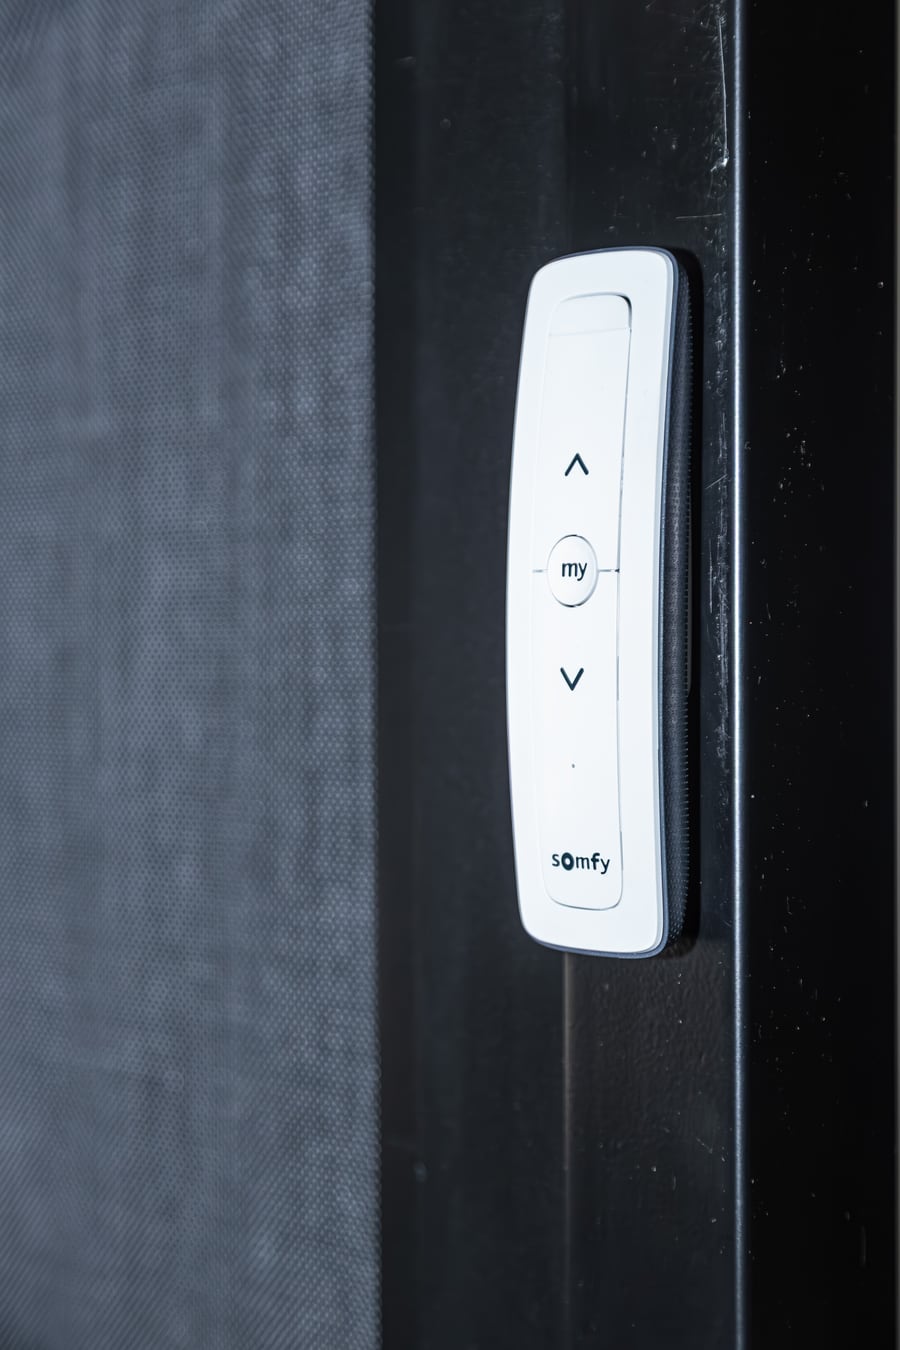
Motorisation Optional
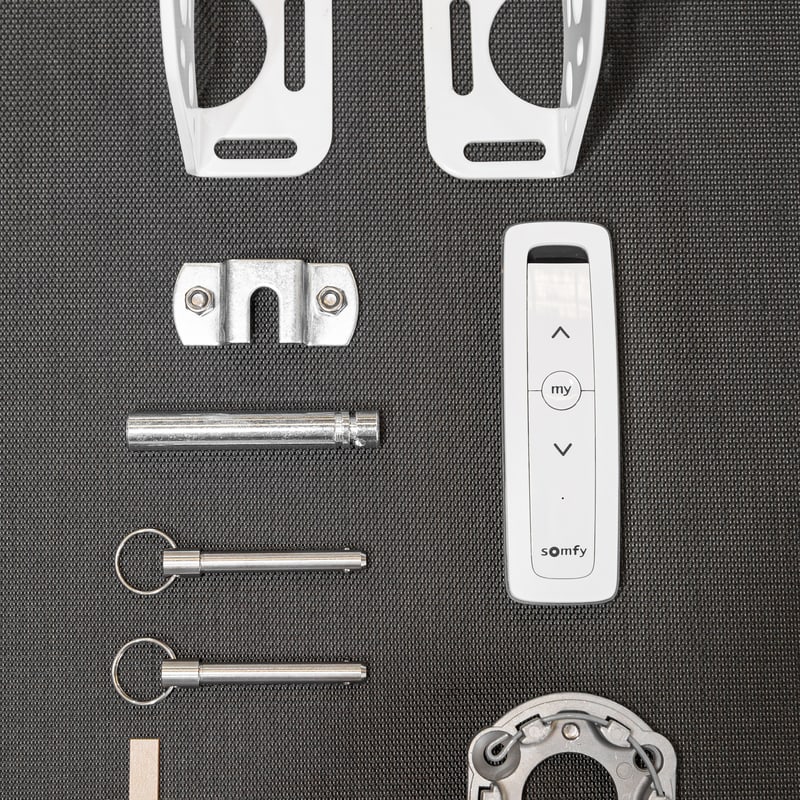
What's in the DIY Kit
Your made-to-measure channel blind, plus the channels, brackets, pins, gearbox and fixings to fit it.

- Measure
- Order
- Unbox
- Install in an afternoon
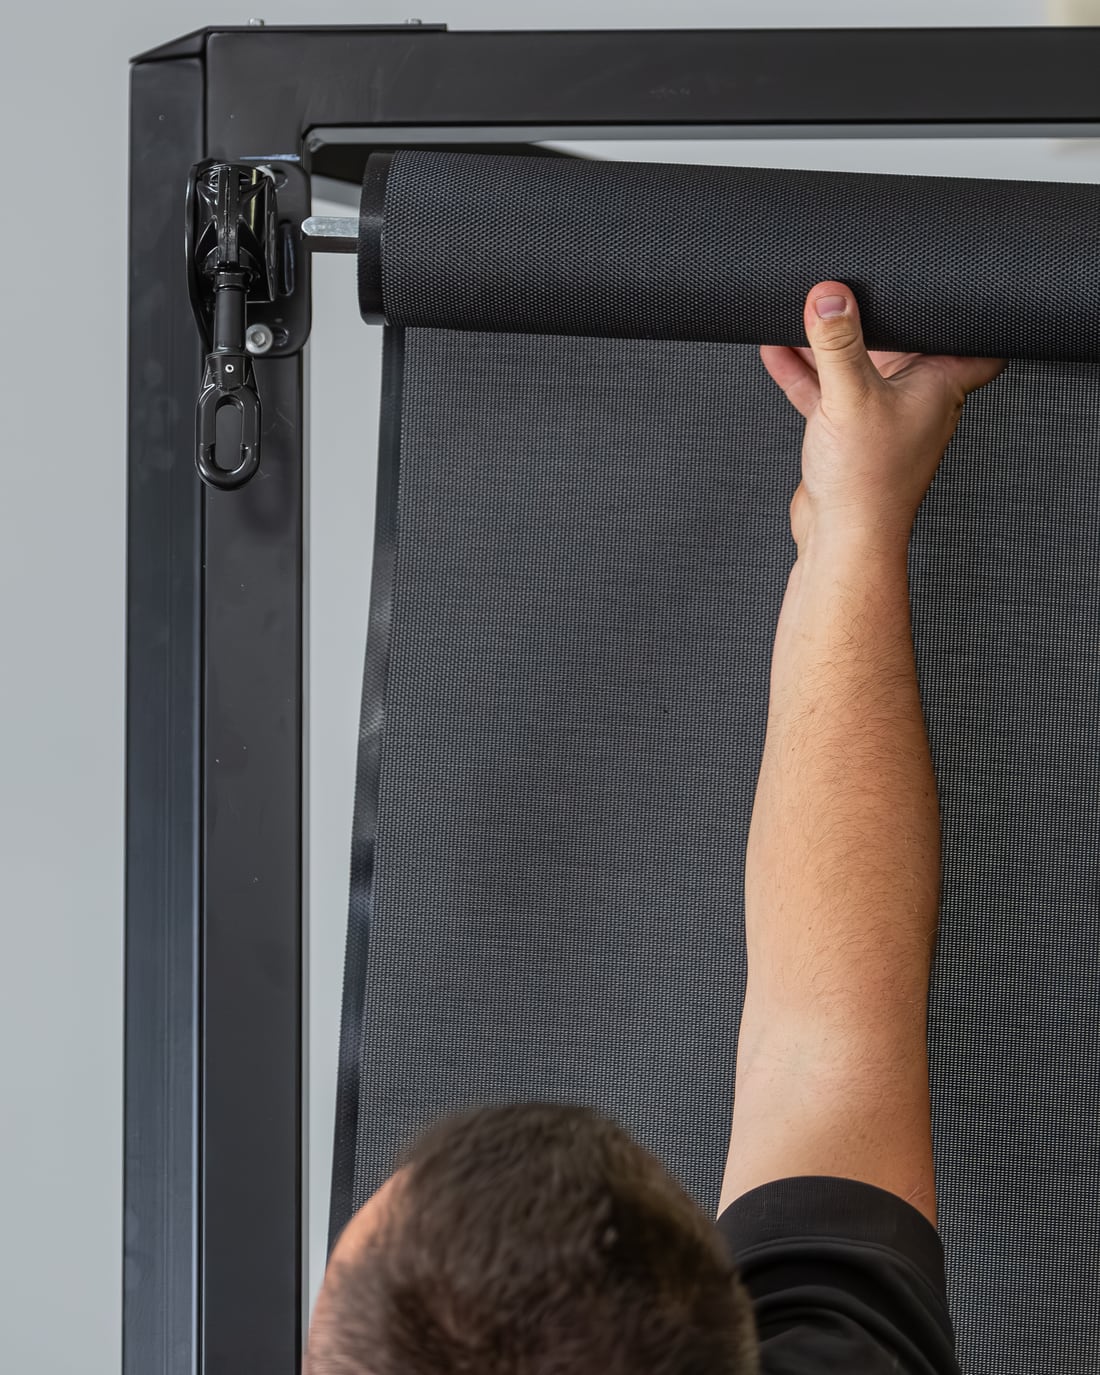
How to fit your HD Channel
Two steps: measure your space, then follow along with the install. Both walk-throughs are included with every kit.
2 to 3 hours, 2 people recommended, drill and level
Measure your space
Measure the width and drop, and check you have a flat surface each side for the channels. HD Channel runs up to 5.8m wide and 3.5m drop.
Open the measure guide (PDF) →Watch the install
A full step-by-step install walk-through is included with every kit.
See more how-to videos →Same product. DIY-able.
Your HD Channel blind, made to your exact measurements and delivered as a complete DIY kit with every fixing and a step-by-step install. Build your spec and get a price in minutes.
- Save up to 40%vs a full install
- Made to measurecut to your exact opening
- Up in a weekend2 people, basic tools
- Guided all the waystep-by-step video + support
Built to last
Colour that stays put
A premium PVC-coated mesh that holds its colour in full Australian sun. Solids, textures and classic stripes, in a palette built to sit with the house, not fight it.
Framed to match
Every frame, channel, cassette and bracket is powder coated in the MIY palette, matched across the whole range.
Need a specific colour? We powder coat in any Dulux finish on request.
Compare the range

Tell us about your space
Free measure and quote. We'll get back to you within 1 business day.